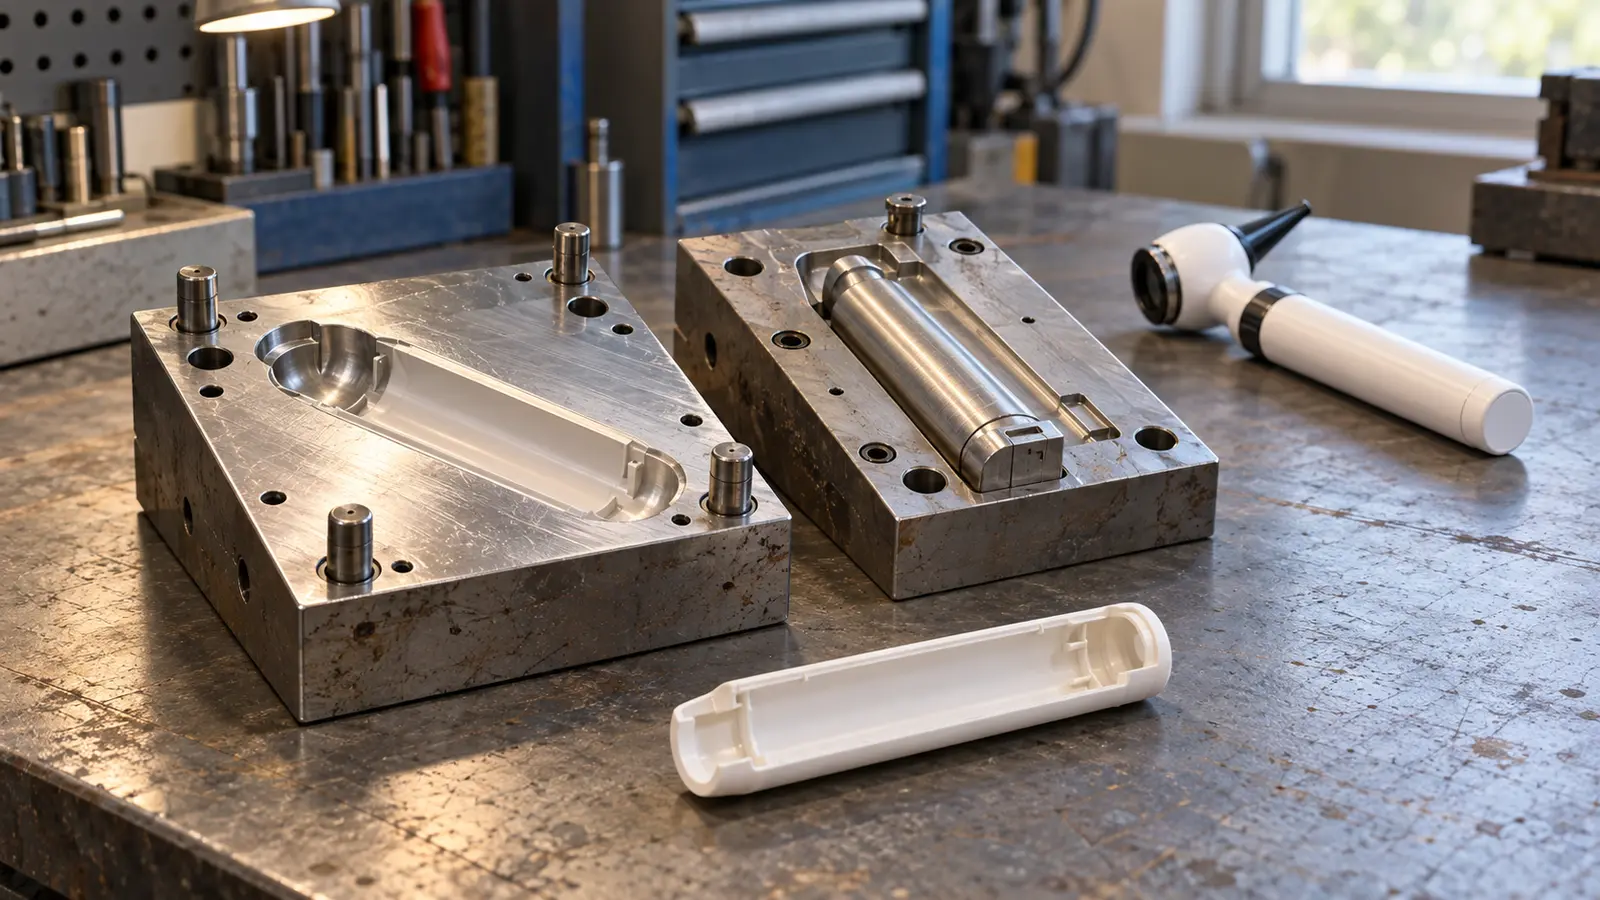
Medical device tooling includes custom molds, dies, fixtures and gauges. Its cost per part depends on the tooling charge and total accepted quantity.
Process qualification and ownership terms affect how it can be used or moved. For an illustrative $15,000 to $35,000 single-cavity tool, spreading the charge over 2,000 parts adds $7.50 to $17.50 per part.
Shipping the tool to another site does not automatically approve the receiving process.
Tooling can be the largest single check you write before your medical device earns a dollar. It is also an item buyers may find hard to assess.
A mold, die or fixture can cost more than a year of parts. Its build schedule and ownership terms can also affect your launch date and ability to change suppliers.
This guide covers what medical device tooling adds to each part at different volumes, how validation works and what happens when you move a tool.
The cost calculation matters as much as the lump-sum quote. We start there after the basics.
Key takeaways
- Budget by volume. Divide the tooling charge by total accepted output, not an assumed annual quantity.
- Match the tool to the stage. Prototype and bridge tools can reduce early commitment while the design develops.
- Compare the complete cost. Cavity count, cycle time and useful life matter alongside the tool quote.
- Plan qualification. Define the evidence your device program needs before approving production.
- Record ownership. Document title, access and release before the tool is built.
- Manage transfers. Protect the asset in transit and assess the process at the receiving site.
What Is Medical Device Tooling?
Medical device tooling is the set of custom molds, dies, fixtures and gauges built to produce or inspect a specific device component.
Unlike the machines around it, a tool is dedicated to a part design. It is a capital asset with an owner, an agreed use and a defined condition.
A tool can move between factories, but its fitness for use and the process that runs it still need review at the receiving site.
Your tool holds the part geometry, tolerances and production capacity in a physical asset on a supplier’s floor. The press that runs it and the tool itself are separate assets.
That distinction matters when you compare suppliers, plan maintenance or arrange a transfer.
Tooling appears across medical equipment manufacturing processes:
- Injection molds. Housings and fluid-path components.
- Die casting dies. Imaging equipment frames.
- Stamping dies. Metal brackets.
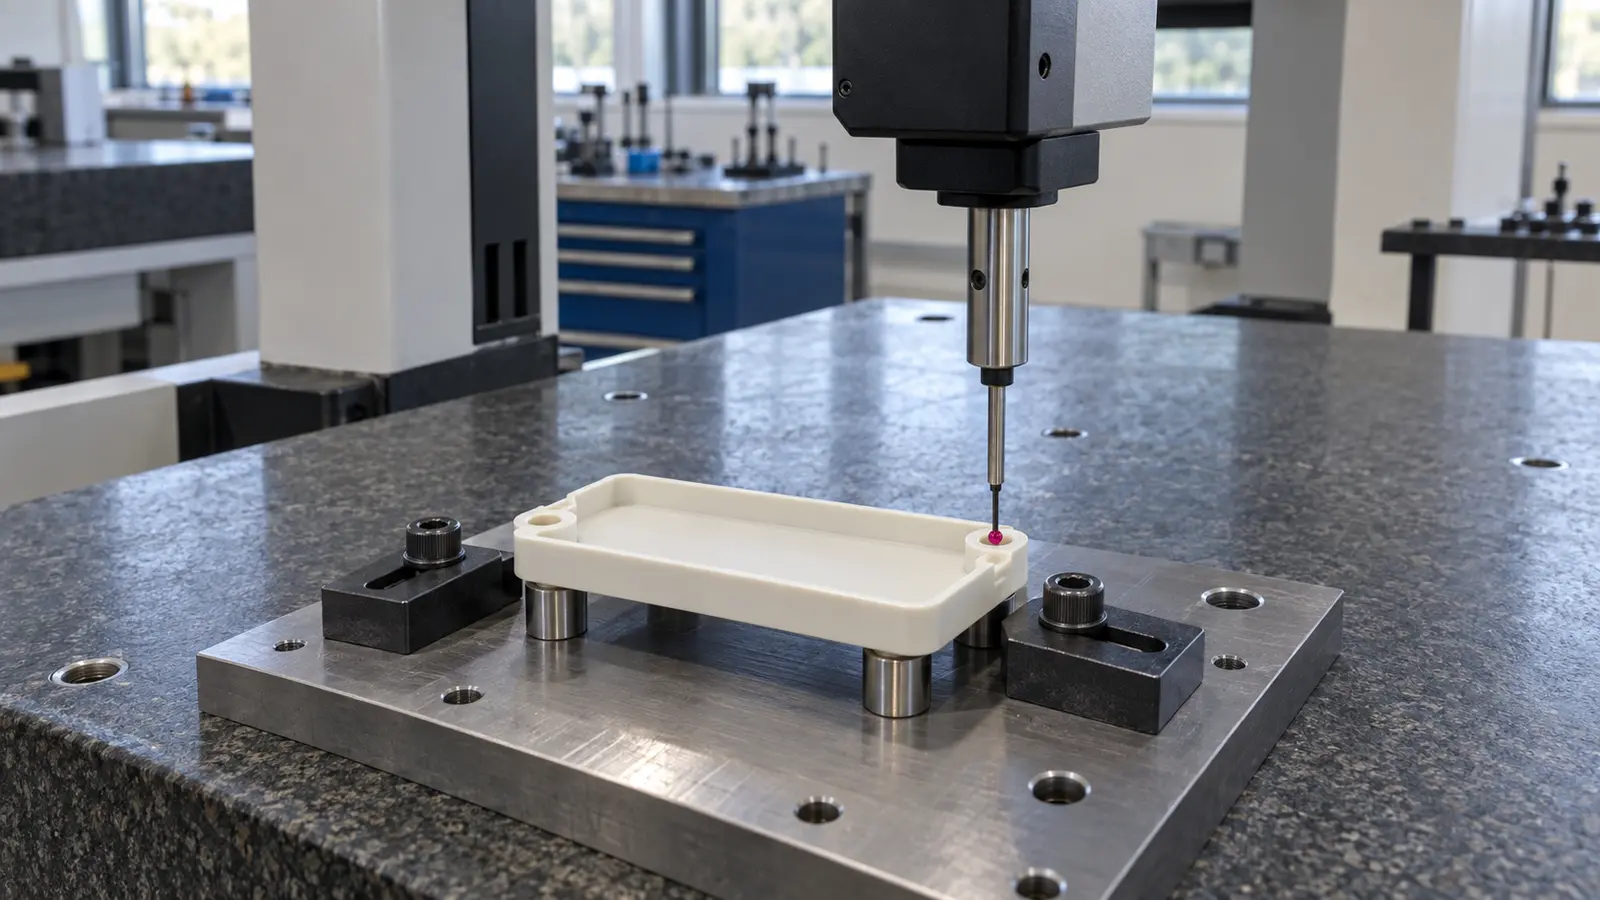
- Inspection fixtures. Stable part holding on a coordinate measuring machine (CMM), plus gauges for specific features.
The Four Types of Medical Device Tooling
The four practical categories are prototype tooling, bridge tooling, production tooling, and inspection fixtures or gauges.
Many quote comparisons go wrong because the tools were never meant to do the same job. Check the intended output and life before comparing price.
| Type | Tool material | Typical life | Best used for |
|---|---|---|---|
| Prototype tooling | Aluminum or soft steel | 100 to 5,000 shots | Design verification, early regulated builds where approved, fit testing |
| Bridge tooling | Aluminum or P20 steel | 5,000 to 50,000 shots | Covering launch demand while production tooling is cut |
| Production tooling | P20 prehardened steel, or hardened H13 / S136 | 250,000 to 1,000,000+ shots | Validated, long run commercial production |
| Inspection fixtures and gauges | Aluminum, steel, tooling plate | Program life | Repeatable CMM holding, go/no-go checks, assembly aids |
Prototype tooling for medical devices helps answer design questions at a lower initial cost. Its shorter expected life can be acceptable for a small run, but it is not a promise that every prototype tool will be discarded.
Production tools support repeat output over a longer program. They usually cost more to build and can be harder to change after the design is locked.
Bridge tooling covers demand while the production tool is built. If your production tool needs 10 weeks and launch demand starts in 5, a bridge tool may fill the gap if its own schedule and release checks allow it.
What Does Medical Device Tooling Cost Per Part?
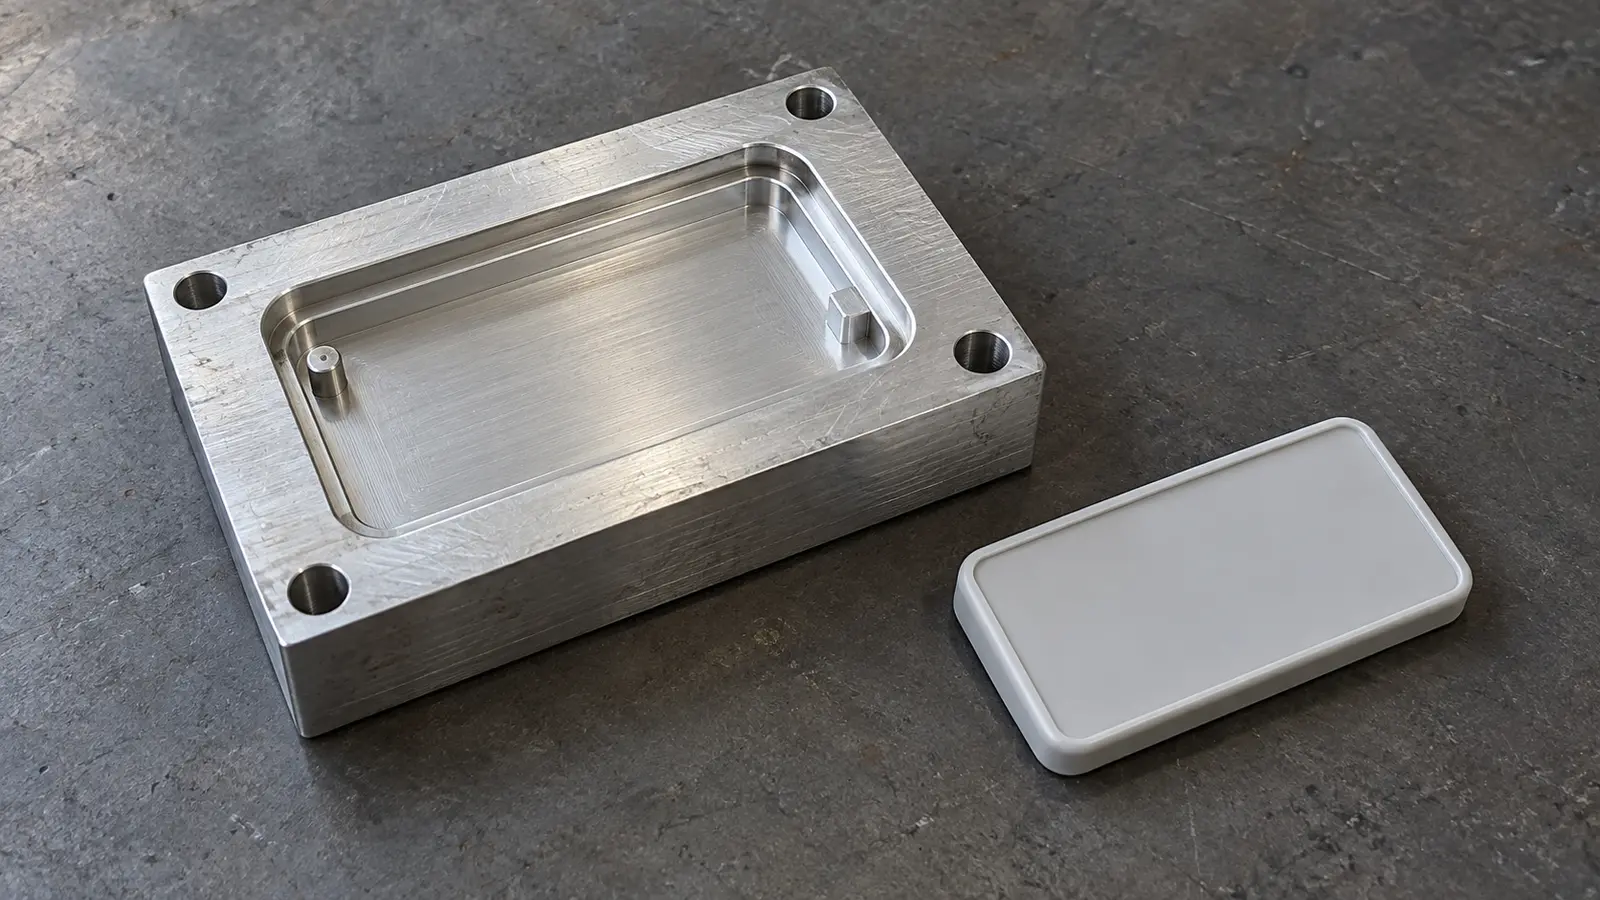
Tooling cost per part is the tooling charge divided by the number of accepted parts over which you spread that charge.
A lump-sum quote does not show the full effect on your unit cost. The volume you will actually make is the main input to that calculation.
For a program running 500 to 25,000 units per year, tooling can add more to each part than the material does. Treat those volumes as planning examples, rather than an industry-wide forecast.
Meco’s injection molding tooling reference puts an aluminum test mold at $2,000 to $8,000. The table below uses illustrative tool classes to show how volume changes the allocation.
The columns are total units used for amortization, not annual output by default. At 2,000 units a year over five years, the same tool may be spread over 10,000 total units, provided it remains usable.
| Tool class | Tooling price band | At 500 units | At 2,000 units | At 10,000 units | At 50,000 units |
|---|---|---|---|---|---|
| Prototype, aluminum | $2,000 to $8,000 | $4.00 to $16.00 | $1.00 to $4.00 | Confirm rated life | Confirm rated life |
| Bridge tool | $8,000 to $18,000 | $16.00 to $36.00 | $4.00 to $9.00 | $0.80 to $1.80 | Confirm rated life |
| Single cavity production | $15,000 to $35,000 | $30.00 to $70.00 | $7.50 to $17.50 | $1.50 to $3.50 | $0.30 to $0.70 |
| Multi cavity hardened | $35,000 to $80,000 | $70.00 to $160.00 | $17.50 to $40.00 | $3.50 to $8.00 | $0.70 to $1.60 |
The table shows tooling cost only. It excludes material, labor, finishing, validation, maintenance and any replacement tool.
At 2,000 total units, an $80,000 multi-cavity tool adds $40 to every part. A bridge tool in the $8,000 to $18,000 band adds $4 to $9 at that volume.
A higher-cost tool does not become cheaper in this table simply because volume rises. It may earn back its extra cost through faster cycles, more cavities, longer life or lower scrap.
Single cavity or multi cavity?
A single-cavity tool costs less initially and is usually easier to modify. It can suit a lower-volume program, including one below about 10,000 units a year, when the required output fits its capacity.
A multi-cavity tool can reduce conversion cost at higher volumes, but it raises the tooling investment. The right choice depends on cycle time, part quality and total program demand.
The 10,000- and 50,000-unit columns are comparison points, not universal break-even thresholds. Include the expected per-part savings before deciding that a more expensive tool wins.
For two viable tooling routes, divide the extra tooling investment by the per-part conversion saving to estimate a break-even quantity. If there is no per-part saving, volume alone does not recover the higher initial charge.
The Mistake That Costs the Most
Buying production tooling before the design is frozen can make later changes expensive. A hardened multi-cavity tool is difficult to modify.
Steel may be welded and recut, but assess every change for its effect on part quality and process qualification. Prototype and bridge tooling let you test the design before the larger commitment.
Cavity count is the other lever. A four cavity tool does not cost four times a single cavity tool, but it does cost significantly more and it raises the stakes on every dimension. If one cavity drifts, you are troubleshooting a validated tool in production. Our comparison of die casting vs injection molding
covers how cavity and tool steel choices differ between metal and plastic tools.
How Long Does Medical Device Tooling Take?
The planning ranges below run from 2 to 4 weeks for prototype tooling to 10 to 15 weeks for multi-cavity hardened tooling.
Tooling often sits on the critical path to launch. Extra budget cannot remove every material, machining, sample-approval or testing constraint once the work has begun.
Ask the supplier to identify the steps it can shorten. Keep tool-build timing separate from any later device or process validation schedule.
| Tool class | Design and DFM | Tool build | Sampling and first article | Total |
|---|---|---|---|---|
| Prototype, aluminum | 3 to 5 days | 1 to 2 weeks | 3 to 5 days | 2 to 4 weeks |
| Bridge tool | 1 week | 2 to 4 weeks | 1 week | 4 to 6 weeks |
| Single cavity production | 1 to 2 weeks | 4 to 6 weeks | 1 to 2 weeks | 6 to 10 weeks |
| Multi cavity hardened | 2 weeks | 6 to 10 weeks | 2 to 3 weeks | 10 to 15 weeks |
Design for manufacturing (DFM), sampling and first article inspection (FAI) can take a substantial part of the schedule. In these examples, they account for roughly a third of the total, depending on the route.
A program that skips useful DFM work may spend the same time later on tool rework. Meco’s general benchmarks are 2 to 3 weeks for aluminum tooling and 4 to 8 weeks for steel tooling, before program-specific requirements.
Confirm whether each quote includes sampling, FAI and the agreed number of revisions. Also confirm whether the days shown are working days and which approvals stop the clock.
Choosing Tool Steel for Medical Parts
Choose tool material for the resin, required life, surface finish and corrosion conditions.
For medical parts, cleanability and repeatable part surfaces may matter too. Aluminum is included below as a short-run option even though it is not a steel.
| Tool material | Hardness | Corrosion resistance | Typical medical use |
|---|---|---|---|
| Aluminum 7075 | Low | Moderate | Prototype and bridge tools, non critical geometry |
| P20 | 28 to 32 HRC | Low | General production housings and enclosures |
| H13 | 44 to 50 HRC | Low | High volume production, abrasive filled resins |
| S136 stainless | 48 to 52 HRC | High | Optical clarity, high polish, corrosive resins such as PVC |
A high polish, a corrosive resin or demanding surface requirements can justify a corrosion-resistant mold steel. Part fluid contact alone does not determine the tool steel.
Corrosion can shorten tool life and change the molded surface. A surface change on an approved part needs a quality review.
Uddeholm’s stainless mold-steel guidance describes the corrosion resistance and polishability available from this type of material. Confirm the exact grade and heat treatment with the toolmaker.
Resin selection also affects the choice. Meco’s injection molding materials reference covers relevant resin families, while medical plastics machining discusses component material considerations.
Who Owns Medical Device Tooling?
Tool ownership, possession and release should be stated in writing before the tool is built.
Across suppliers, paying a tooling charge and holding the tool are not always the same as owning it. The agreement needs to make title and access clear.
This issue applies to every manufacturing relationship, not only medical work. The discussion of contract manufacturer vs OEM differences covers the ownership and control questions to resolve.
Settle ownership, possession and release arrangements before the tool is cut, rather than when you want to leave.
Meco design and tooling ownership
At Meco, your design and tooling stay yours. We sign an NDA before you share any drawings or files, and we do not produce your product for anyone else.
You may take your design and tooling to another supplier. You are responsible for the expense and arrangements of the transfer, without Meco-imposed conditions.
How Medical Device Tooling Validation Works
Tooling is assessed as part of the manufacturing process; it does not receive a stand-alone approval that follows it everywhere.
When process validation is required, the tool, equipment and settings are considered together. The common phases are installation qualification (IQ), operational qualification (OQ) and performance qualification (PQ).
The device manufacturer’s quality team defines the required checks and evidence. A dimensional inspection report alone does not establish the complete process.
IQ, Installation Qualification
IQ checks that the tool and equipment are installed as specified. Records can cover serial numbers, drawing checks, water and ejection systems, and the press used with the tool.
The installation must match the approved plan before process testing begins.
OQ, Operational Qualification
OQ establishes the process window. Planned runs challenge the settings within their proposed limits, so acceptance is not based on a single ideal setting.
The protocol defines what to test and how to judge the results.
PQ, Performance Qualification
PQ checks repeat output under planned operating conditions. Runs may include multiple batches and operators, with the required features measured for consistency and capability.
The run size and acceptance criteria come from the approved protocol. They are not fixed by the tool price.
The FDA Quality Management System Regulation (QMSR) became effective on February 2, 2026. It incorporates ISO 13485:2016 requirements by reference for the manufacturers within its scope.
If your records predate that change, review whether they still meet the applicable requirements. Diagnostic equipment is not automatically exempt because its components do not contact a patient.
The GHTF medical-device process validation guidance describes validation decisions and the IQ, OQ and PQ approach. It is non-binding guidance and should be read alongside current requirements.
Meco certification and project scope
Meco is certified to IATF 16949:2016. We are not ISO 13485 certified, and IATF certification does not establish medical-device QMSR compliance.
Housings, frames, carts and other non-implantable components are possible project types. Whether Meco is suitable depends on the part’s intended use, risk and your supplier requirements.
If your program requires an ISO 13485-certified supplier, request the certificate and check its scope. Meco does not offer implantable or sterile-critical manufacturing based on the capabilities stated here.
The FDA QMSR FAQs also distinguish certification from compliance. An ISO 13485 certificate does not replace FDA oversight or prove that every process is suitable for your device.
Planning a tooling decision? We sign an NDA before you share files. Send the part design, resin, quantity and quality requirements for DFM feedback on the manufacturing route.
Get DFM Feedback on Your DesignWhat Happens to Medical Device Tooling When You Change Manufacturers?
A tooling transfer requires a documented review of the receiving process before the new site releases production parts.
The same tool may run in a different press, with different cooling, operators and settings. Existing records remain useful evidence, but they do not automatically approve the new setup.
Assess the installation, repeat the required OQ and PQ work, and produce the inspection records called for by the transfer plan. The quality team determines the scope rather than assuming every original test must always be repeated.
A 6 to 12 week allowance can be a planning scenario, not a guaranteed transfer duration. Shipping, repair, press compatibility, testing and customer approval can shorten or extend it.
The steel may be unchanged, but the process around it has moved. A mold is one part of a production setup; the machine, utilities and accepted settings are the other parts.
Hold production release until the required evidence and approvals for the receiving site are complete.
Six Steps for a Clean Tooling Transfer
- Confirm ownership and release in writing. Get written confirmation that the tool will be released, and on what conditions, before you give notice.
- Collect the full tooling package. Gather 3D and 2D tool drawings, steel certificates, spare-component lists, maintenance and shot-count history, and the last accepted process parameters.
- Inspect before shipping. Photograph the tool open and closed. Record cavity condition, wear, and any repairs. Disputes about damage are unwinnable without a baseline.
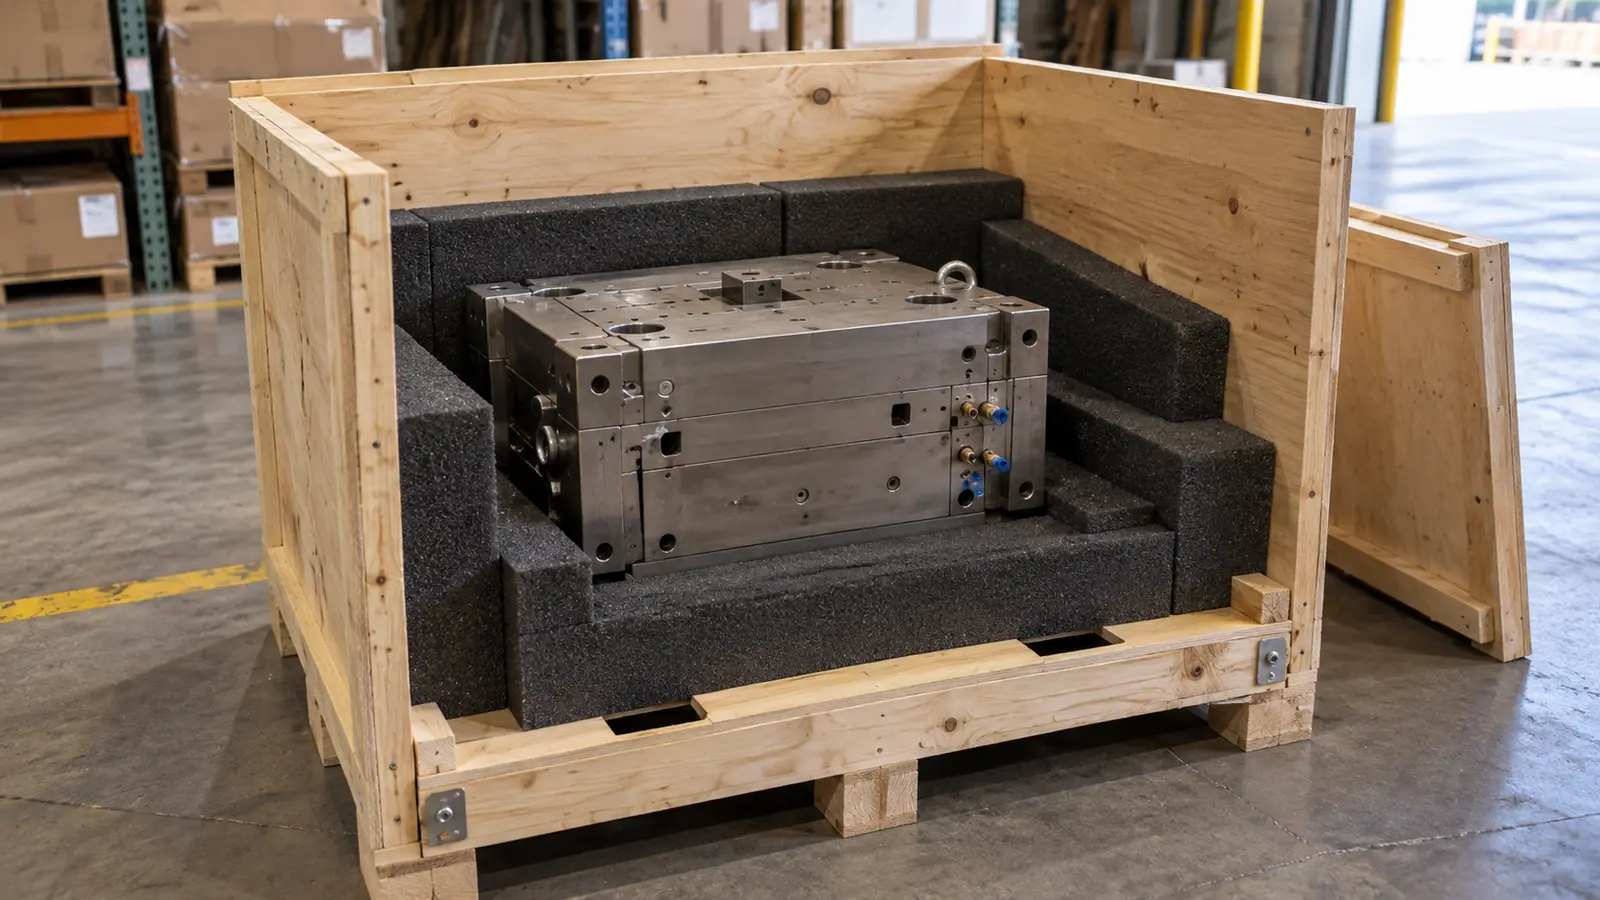
- Ship with proper preservation. Apply suitable rust protection, protect the cavities and secure the tool in a crate suited to its weight and transport route. Keep preservation materials compatible with the tool and its later use.
- Requalify at the new site. Check the new installation and complete the OQ and PQ work required by the approved transfer assessment. Expect the process window to need review against the new press and utilities.
- Run first article inspection and update your supplier file. Collect the new FAI, CMM report and material certificates required by the plan. Record the site and process changes in your quality system.
What Triggers Revalidation
Transfer is not the only reason to review a validated process. Check the effect of these changes:
- Tool geometry. A weld or cavity recut that affects the part.
- Equipment or site. A different press, factory or supporting utilities.
- Material. A resin or grade change.
- Tool condition. Significant wear or a major repair.
- Cavities or design. A change in cavity count or the component itself.
Document the impact and the extent of revalidation needed. A limited change may need only part of the original work repeated.
Routine cleaning or polishing does not automatically require full revalidation. Log it and assess any effect on geometry or the accepted surface finish.
How to Choose a Medical Device Tooling Partner
Choose a partner that can show the tooling plan, inspection records, maintenance controls and applicable quality credentials.
Ask questions that produce documents rather than reassurance.
- Is tooling designed and built in house, or brokered to a third party you will never meet?
- What exactly does the tooling price include: design, sampling, first article, and how many rounds of changes?
- Can you see a sample FAI and CMM report from a comparable part?
- Who holds the tool drawings, and will you receive them?
- What is the documented process for tool maintenance and shot count tracking?
- Which quality certifications apply, and can you see the certificate?
Whether tooling stays in house or is outsourced depends on continuity as well as capability. In-house tooling for medical devices keeps design, tool build and molding close together when a dimension needs correcting.
Outsourced toolmaking can cost less, but the extra handoff needs clear responsibility. Define who approves design changes and who resolves a part that is out of specification.
Meco tooling and related processes
Meco builds tooling in house alongside 40+ manufacturing processes across 36,000 square meters of owned facilities in Thailand and China. There is no minimum order quantity, with volumes from 10 pieces to 10 million or more.
Related capabilities include CNC machining and whole product manufacturing. One manufacturing route can connect components, finishing and the final build.
The medical cluster also covers medical CNC machining and medical device assembly.
If you are earlier in the process, medical device prototyping to production covers the decisions that come before tooling. For broader budgeting, the metal part manufacturing cost guide separates the main cost inputs.
Plan Your Medical Tooling
An engineer will review your part design, tooling options, expected quantity and required quality records. We sign an NDA before you share drawings or files.
- In-house tooling. Design and build coordination
- DFM feedback. Review before cutting steel
- Quality records. FAI and CMM reports available
- No minimum order. Small runs through production
- Customer ownership. Your design and tooling stay yours
References and sources
Regulatory statements and source links checked 7 October, 2026.
- U.S. Food and Drug Administration. Quality Management System Regulation (QMSR). Updated February 2, 2026.
- U.S. Food and Drug Administration. QMSR frequently asked questions. Updated February 2, 2026; certification and inspection.
- Global Harmonization Task Force, hosted by IMDRF. Quality Management Systems Process Validation Guidance. GHTF/SG3/N99-10:2004, Edition 2, January 2004; non-binding guidance.
- Uddeholm. Stavax ESR stainless mold steel. Corrosion resistance and polishability.
Costs, tool-life bands and lead times are illustrative planning ranges, not quotations or guarantees. Medical-device requirements and requalification scope must be confirmed for the intended product and market. This article is general information, not legal advice; have tooling agreements reviewed by qualified counsel.
