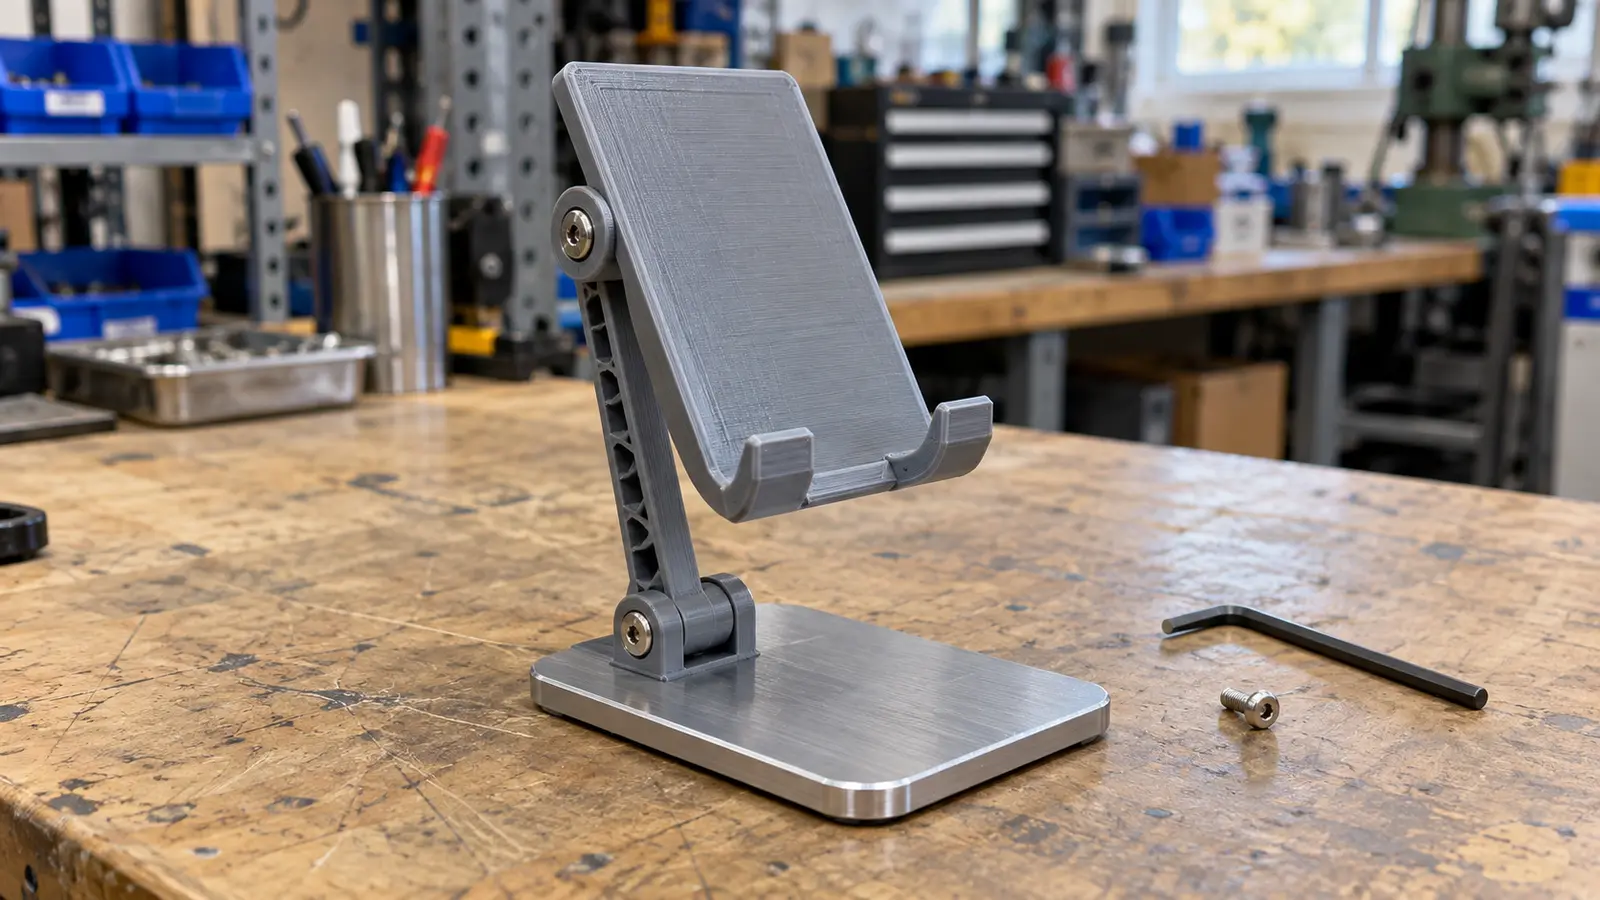
To make a prototype of an invention, sketch the idea, create the build files and make a model you can test. Start with the cheapest method that answers your main design question.
Use each test to improve the next version. Before public sharing or sales, plan confidentiality and patent timing with a qualified professional.
Key takeaways
- Start with one question. A rough model can check shape before you build moving parts.
- Match the method to the test. Printing, machining and molding reveal different things.
- Budget for revisions. Treat the listed costs as examples and confirm the full quote scope.
- Plan protection early. Prototype timing and patent timing need separate checks.
- Keep the next stage in view. Meco offers 40+ processes, DFM feedback and no minimum order quantity.
What It Means to Make a Prototype of an Invention
A prototype is a physical model that lets you check whether an invention works. It can be rough at first, as long as it answers a clear design question.
This guide walks you through prototype types, methods, budget examples, patent timing and finding someone to build it. No engineering degree is needed. The dollar ranges are illustrative planning budgets, not verified market averages or Meco quotations.
An invention prototype is just a working model of your idea. It does not have to look like the final product.
It only has to prove your idea can actually do the thing you say it does. Think of it as cheap insurance: for a couple hundred dollars, it tells you whether your idea works before you risk thousands on tooling or a patent.
This is one step inside the bigger path from idea to a finished product you can sell. Prototyping sits right in the middle, between sketching your idea and manufacturing it at scale.
The 5 Types of Invention Prototypes
Choose a sketch, proof of concept, printed model, functional build or production-ready sample according to what you need to learn. Start with the least expensive type that can answer that question.
Not every prototype is the same. The right type depends on what you are trying to learn and how much you want to spend. Here are the five most common kinds, from cheapest to most involved.
| Prototype Type | What It Is | Best For | Illustrative budget (USD) |
|---|---|---|---|
| Sketch or digital model | A drawing or a CAD file on screen | Sharing the idea and getting a quote | $0 to $3,000 |
| Proof of concept prototype | A rough, handmade version | Testing if the core idea works at all | Under $20 to $500 |
| 3D printing prototype | A plastic model printed from your CAD file | Checking shape, fit, and basic function | $50 to $500 |
| Functional prototype | A version that works like the real product | Testing moving parts and real use | $500 to $5,000 |
| Production-ready prototype | Made with final materials and methods | Investor pitches and pre-production | $2,000 to $8,000+ |
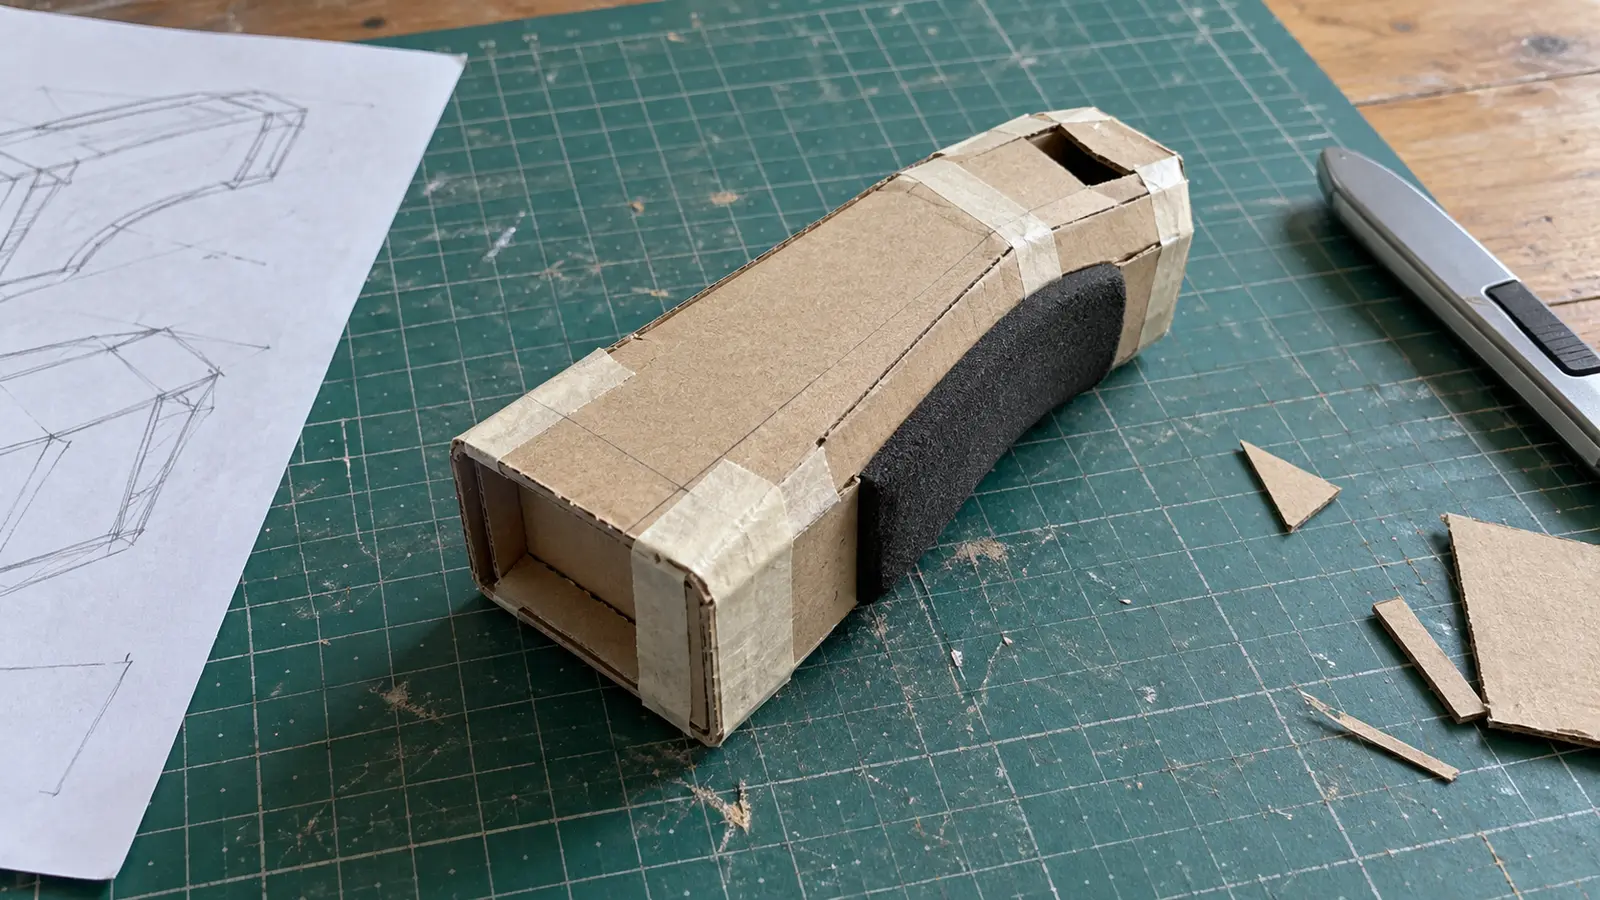
A proof of concept prototype answers one question: does the basic idea even work? It can be cardboard, foam, or clay, and it is the first invention prototype most people build.
A functional prototype goes further and behaves like the real thing. That matters most when your invention has moving parts or electronics, because a proof of concept prototype can prove the shape works while a functional prototype proves the product works.
Quick takeaway
Start with the cheapest prototype that answers your biggest question. You do not need a production-ready model on day one. You need to learn something for the least money possible.
How to Make a Prototype of an Invention, Step by Step
Define the idea, create the build files, choose a method and test the result. Repeat with a clear reason for each change.
There is no single right way to make a prototype of an invention. The four steps below give you a practical order for a physical product. Follow them to test the idea before committing to more expensive work.
- Sketch and define what it must do. Draw your invention and write down what it does, who it is for, and why it beats what already exists.
- Turn the sketch into a CAD file. Create a 3D digital model, either yourself or with a designer, so a printer or factory can read it.
- Pick a prototyping method and build it. For most inventions, start with 3D printing because it is fast and cheap.
- Test, then repeat. Hold it, use it, find the flaws, and build the next version. Plan for three or four rounds.
Step 1: Sketch and define your idea
Before you spend a dollar, spend an hour with a notebook. Draw what your invention looks like and write down what it does and who needs it. Date your notes so you can track changes, but do not treat them as a substitute for a patent filing.
It does not have to be pretty. Stick figures are fine. The point is to get the idea out of your head and onto something you can hand to another person.
Step 2: Turn your sketch into a CAD file
Next, your drawing becomes a CAD file, which stands for computer-aided design. This is the 3D digital model a printer or factory needs to build your part. You can learn basic CAD yourself, or hire a freelance designer for $300 to $3,000 depending on how complex the part is.
This file is the heart of the whole product development process. Get it right and every later step gets easier.
Step 3: Pick a method and build
For many simple shape and fit checks, a 3D printing prototype is a useful first build. Once the CAD file is ready, the machine can print a model in hours, although preparation and delivery add time. The illustrative $50 to $500 range is a budgeting example; request a quote for your design.
Step 4: Test, then repeat
Expect to build more than one. Iteration is the norm, not a sign you did something wrong. The Dyson describes thousands of prototypes built over several years before the first bagless vacuum reached production.
You do not need to copy that scale. Plan an initial three or four rounds, then adjust the plan to what each test reveals. Each version should answer a question the last one could not.
The 3-T Prototype Test
Before you move to the next version, run the 3-T check:
- Test: use it the way a real user would.
- Touch: feel the size and weight.
- Tweak: change one thing at a time.
Changing five things at once means you never learn which fix actually worked.
3D Printing vs CNC Machining: Which Method Fits Your Invention?
Use cardboard or printing for early shape checks. Move to machining or molding when the test needs the final material or production process.
The most common question we hear is whether to 3D print or machine a prototype. The honest answer: it depends on your budget, the material, and what you need to learn. Here is a side-by-side look at the four main paths.
| Method | Illustrative budget (USD) | Best For | What It Won't Tell You |
|---|---|---|---|
| Cardboard or foam mock-up | Under $20 | Size, shape, and feel in your hand | Whether moving parts really work |
| 3D printing (FDM or resin) | $50 to $500 | Form, fit, and quick repeat rounds | True strength of the final part |
| CNC machining | $300 to $3,000 | Metal parts and a near-final feel | Cost at high volume |
| Small-batch molding | $2,000 to $8,000 | Testing the real production material | Production consistency, tooling life and full-scale yield still need validation |
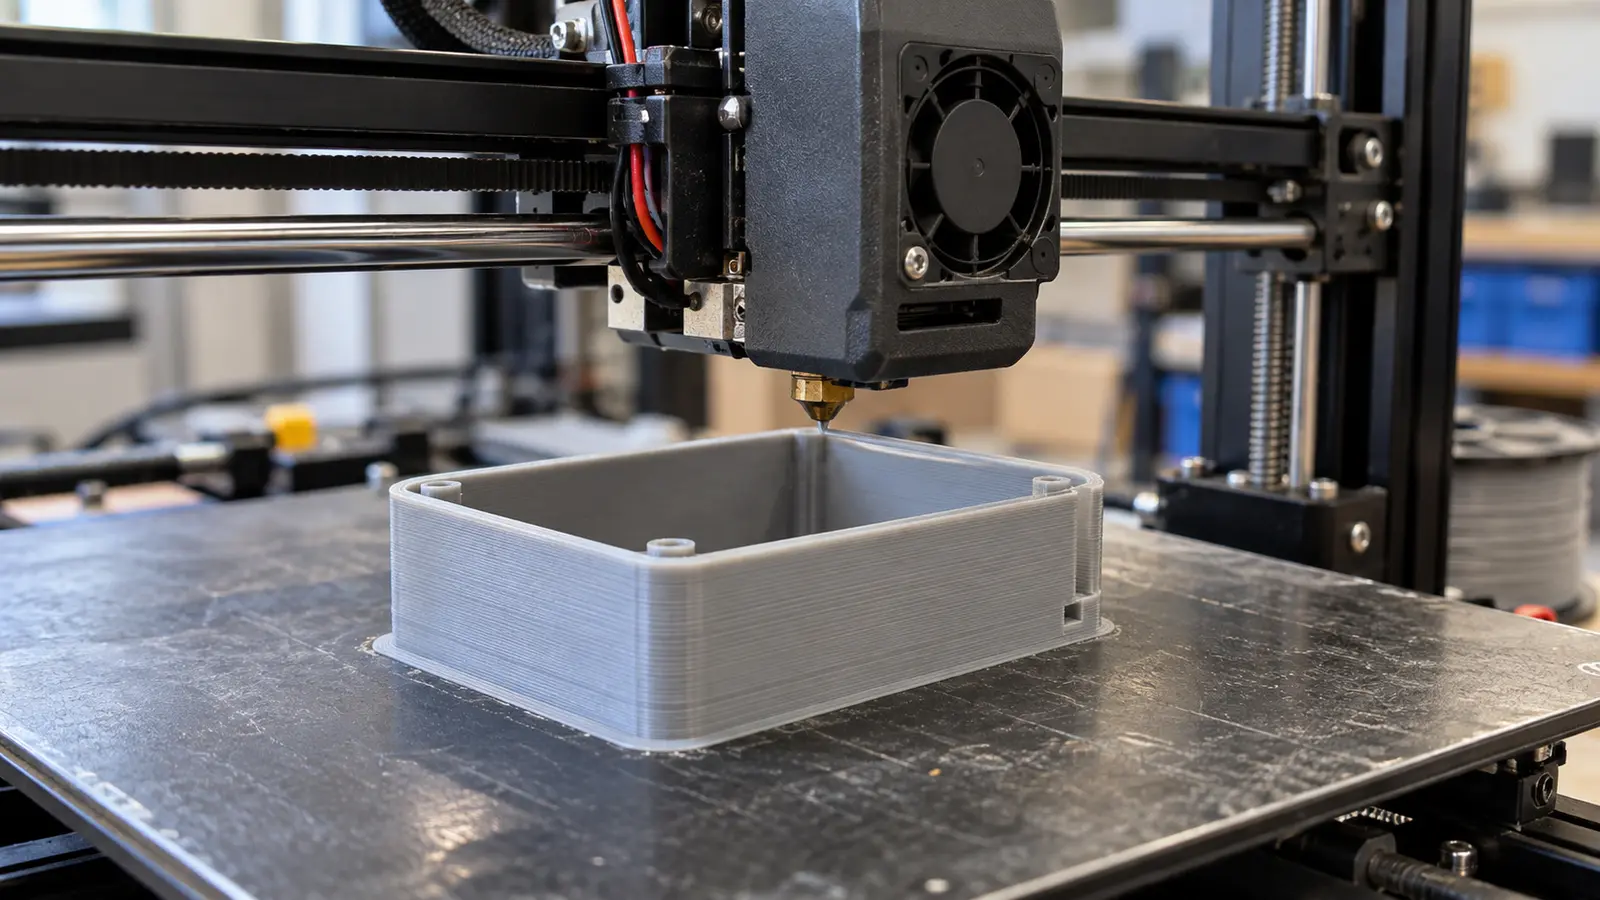
Rapid prototyping is the umbrella term for making models fast, usually with 3D printing. It is brilliant for shape and fit.
But a printed plastic part does not behave like a molded or machined one. The layers can be weaker and the surface rougher.
So while rapid prototyping is the fastest way to learn, it is not always the most honest test of the final material.
Stratasys explains how test needs guide prototype methods. Choose the process for the question you need to answer, rather than using the same method for every stage.
So when does plastic stop being enough? If your product's whole value depends on strength, a clean finish, or how a real material flexes, you will eventually need a CNC machining prototype in the real material. A partner who runs both machining and molding in house can move you up this ladder without restarting from scratch each time.
How Much Does an Invention Prototype Cost in 2026?
Budget for the design work, each build and the tests you need. The price ranges below are illustrative budgets, not fixed prices for 2026.
Prototype cost depends on complexity, materials and method. The budget examples show a simple plastic part under $200 and a complex device at several thousand dollars. Treat the table as a starting budget, then confirm what design, testing and delivery work the quote includes.
| Stage | Illustrative budget (USD) | What You Get |
|---|---|---|
| Sketches and notes | $0 to $100 | Your idea on paper |
| CAD design | $300 to $3,000 | A 3D file factories can quote from |
| 3D-printed prototype | $50 to $500 | A plastic version you can hold |
| Functional prototype | $500 to $5,000 | A near-final working model |
| Small-batch molded sample | $2,000 to $8,000 | The real production material |
You do not pay for all of these at once. The under-$1,000 CAD-and-print example is possible only when the scope fits that budget. A model and files can start a useful manufacturing discussion; the metal part pricing guide explains production-stage cost drivers.
Can I make a prototype with no money?
Almost. The first steps can be free or close to it.
Sketch your idea and build a cardboard or foam mock-up with materials you already have. Check local libraries, colleges or maker spaces for printer access, training and fees rather than assuming the service is free.
So if you are trying to make a prototype with no money, lean on those free tools first. You can prove your core idea works long before you spend real cash on tooling.
Ready to test your idea? Send a sketch, description or CAD file. Meco can review the build route and provide DFM feedback before you invest in tooling.
Talk to an EngineerDo I Need a Prototype Before I Patent My Invention?
You generally do not need a working prototype to file a US patent application. Plan confidentiality and filing before public disclosure, even if you want to test the idea first.
The USPTO says models are not ordinarily required. The application still needs a sufficient description of the invention, and the Office can require a model in some cases.
A cheap prototype can help you decide what is worth developing, but there is no safe universal rule to build first and protect later. Public disclosure, sales and testing with others can affect patent rights. Discuss filing and confidentiality with a qualified patent professional before sharing the idea publicly.
A US provisional patent application can establish a filing date and allow the term "patent pending." It is not a granted patent. You normally need a corresponding nonprovisional filing within 12 months to claim its benefit, and public disclosure may harm foreign rights.
We are a manufacturing company, not patent lawyers. The USPTO provisional application guidance explains the requirements. Get advice on your intended markets and filing dates before deciding how prototyping and protection should run together.
Check both the build and filing plan
Ask whether you have tested the idea and whether you can share it safely. A physical model can reveal design flaws, while patent advice helps you avoid losing rights during testing. Plan both before spending heavily on tooling or promotion.
How to Find Someone to Build Your Prototype
Choose a builder who understands the question your prototype must answer. Compare the scope, relevant work and DFM feedback as well as the price.
Once you have a CAD file or even a solid set of drawings, it is time to talk to a real builder. The right partner can make a prototype of an invention faster and cheaper than going it alone.
You can hire a freelancer, use a local maker space, or work with an invention manufacturer that handles design, prototyping, and production under one roof.
The best manufacturers send back more than a price. They send DFM feedback.
DFM stands for design for manufacturing, which is engineer-speak for small tweaks to your design that make it cheaper and easier to build. Good DFM advice can trim 15 to 30 percent off your final cost.
In our experience helping first-time inventors, the biggest cost saver is not a cheaper shop. It is having one team that catches design problems before they become production problems.
With more than 30 years of turnkey manufacturing and 40-plus processes in house, plus in-house R&D and engineering support, that is the kind of coverage we aim to give inventors. And because we run no minimum order quantity, you can start with 10 units instead of 10,000.
Keep ownership clear before sharing files
We sign an NDA before you share any drawings or files. Your design and tooling stay yours. We do not produce your product for anyone else.
You may move your design and tooling to another supplier without Meco-imposed conditions. You handle the cost and arrangements of that transfer. Confirm the scope, deliverables and development stages before work starts.
The 5-minute test for a good partner
When you first reach out, look for more than a fast reply. Ask these three questions, then check relevant work and the written scope before committing.
- Response: do they reply within the time they promised?
- Design questions: do they ask what you need to test, rather than just sending a price?
- Discussion: will they talk through the plan and explain what is included?
Meco responds to quote requests in under 24 hours. A good first conversation helps you compare options, but it does not replace checking the proposal and the supplier.
Be careful with invention-promotion firms that promise commercial success for a large upfront fee. An engineering deposit alone is not proof of a scam. The FTC explains how to investigate invention marketers: check their record, total fees and written promises before signing.
Common Prototyping Mistakes (and How to Dodge Them)
Avoid expensive tooling before the design is ready, uncontrolled changes and first orders larger than you can justify. Keep patent timing and test evidence in the plan.
We see the same handful of mistakes over and over when people try to make a prototype of an invention. Avoid these and you will save yourself months of headache.
- Jumping straight to expensive tooling. Climb the ladder one rung at a time. A fixable flaw caught on a $150 print is cheap; the same flaw in a $20,000 mold is not.
- Ignoring patent timing. Test cheaply while planning protection. Get advice before public disclosure rather than assuming you should always build first and file later.
- Changing everything at once. Tweak one variable per round so you know what actually improved.
- Ordering too many units on the first run. Lots of inventors get talked into a 10,000-unit first batch. Start with 100 or 500, sell those, learn, then scale. A partner with no minimum order quantity makes this easy.
- Trying to perfect every detail alone. A good injection molding or machining partner can offer DFM feedback early. Agree the scope of any paid design work before it starts.
The inventors who waste the least money treat their first prototype as a question, not a final answer. Build cheap, learn fast, and only spend real money once the design has earned it.
Move from a prototype to a product
Once your prototype works, send it and your files to a manufacturer for a quote and DFM feedback. They build a production sample for approval before a first batch. A turnkey partner can handle tooling, production, finishing and packaging in one program.
The prototype-to-production guide explains that next stage. Confirm the final material, process and tests: a good prototype is evidence for development, not proof that every production part will perform the same way.
Build Your Invention Prototype
Send a sketch, description or CAD file. Meco will review the next step, build route and DFM needs before you commit to production.
- Support: concept, CAD review and sampling
- Processes: printing, machining and molding
- Quality: IATF 16949:2016, FAI and material records
- Ownership: NDA before files; your design and tooling stay yours
- Scale: no minimum order quantity
References and sources
Sources for patent requirements, supplier checks, iteration and prototype methods. Checked 7 October, 2026.
- MPEP 608.03 Models Exhibits Specimens. USPTO.
- Provisional Application for Patent. USPTO.
- Invention Marketing Scams. Federal Trade Commission.
- Prototyping Labs. Dyson.
- Rapid Prototyping Methods Benefits and Process Guide. Stratasys.
The budgets are illustrative, not verified 2026 market averages or Meco quotations. Images are AI-generated illustrations, not Meco facilities or customer projects.
