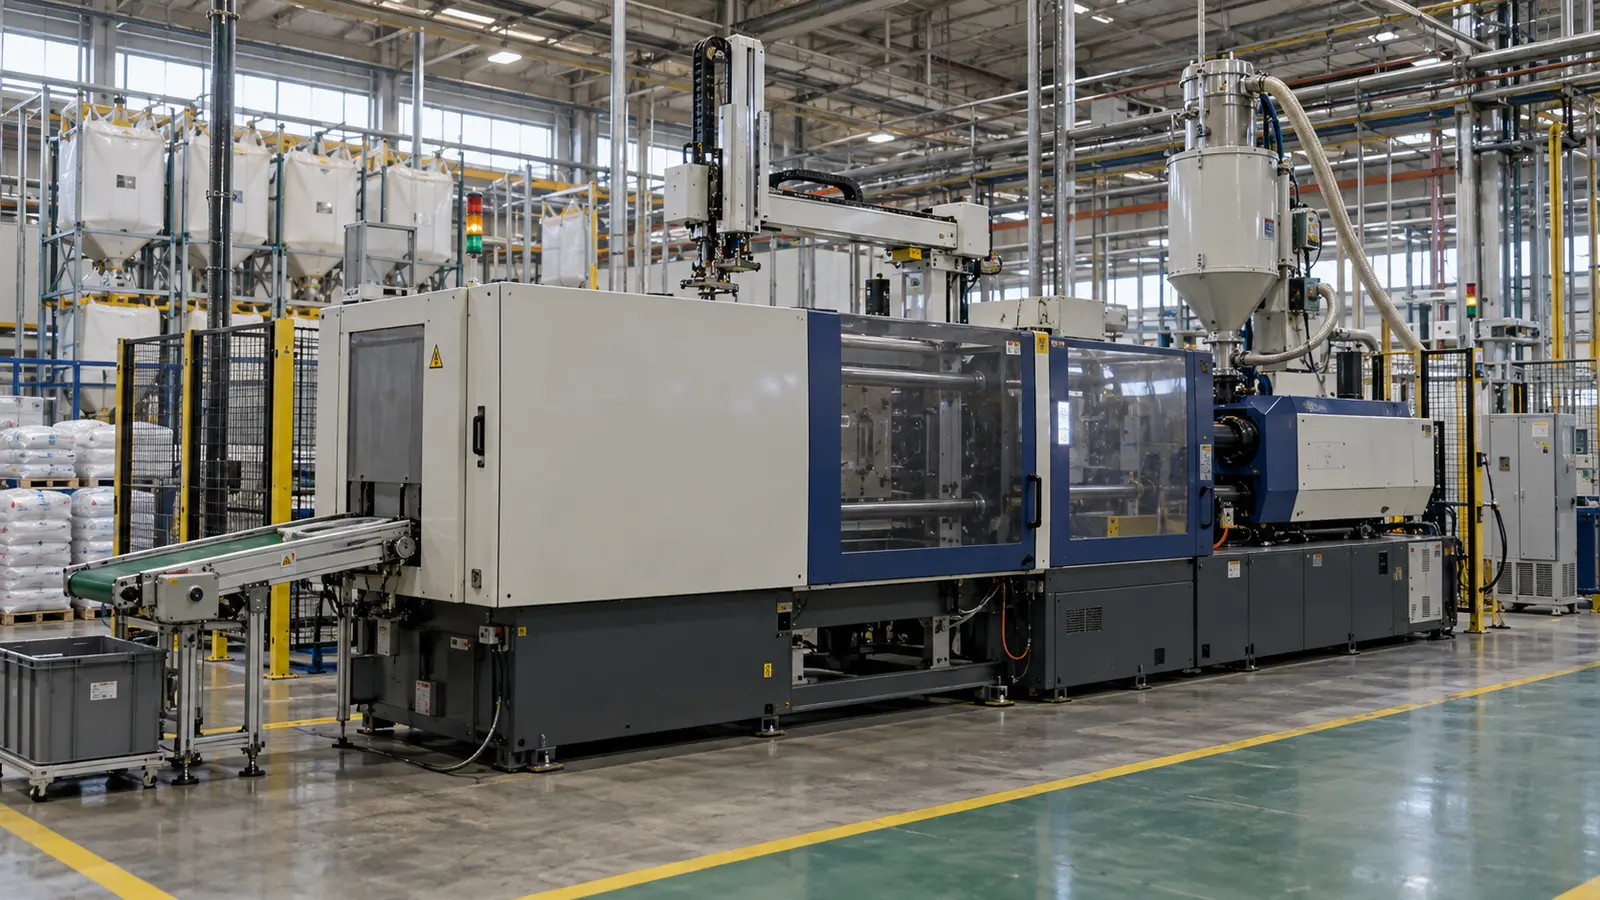
A short shot happens when melted plastic does not fill the whole mold cavity. Part of the edge, rib, boss, corner or another feature is left incomplete. The first question should not be “How much more pressure should I add?” It should be “Where did the plastic stop, and why?”
The same-looking defect can come from different problems. A thin wall may cool too soon.
A gate may restrict flow. Air may be trapped.
The machine may also run out of usable melt before the cavity is full. If you are new to the process, this guide to plastic injection molding explains how the fill stage works.
Key takeaways
- Start with the missing area and whether it repeats.
- Check process, material, tooling and part design.
- Change one controlled variable at a time and record the result.
What does a short shot actually look like?
A short shot is an incompletely filled molded part. The missing area is often near the end of the flow path, around a thin wall, or in a feature that the melt reaches late in the fill.
The defect can be obvious, such as half of a rib missing. It can also be small. A corner may look rounded, a snap feature may not fully form, or one cavity in a multi-cavity mold may come up short while the others look normal.
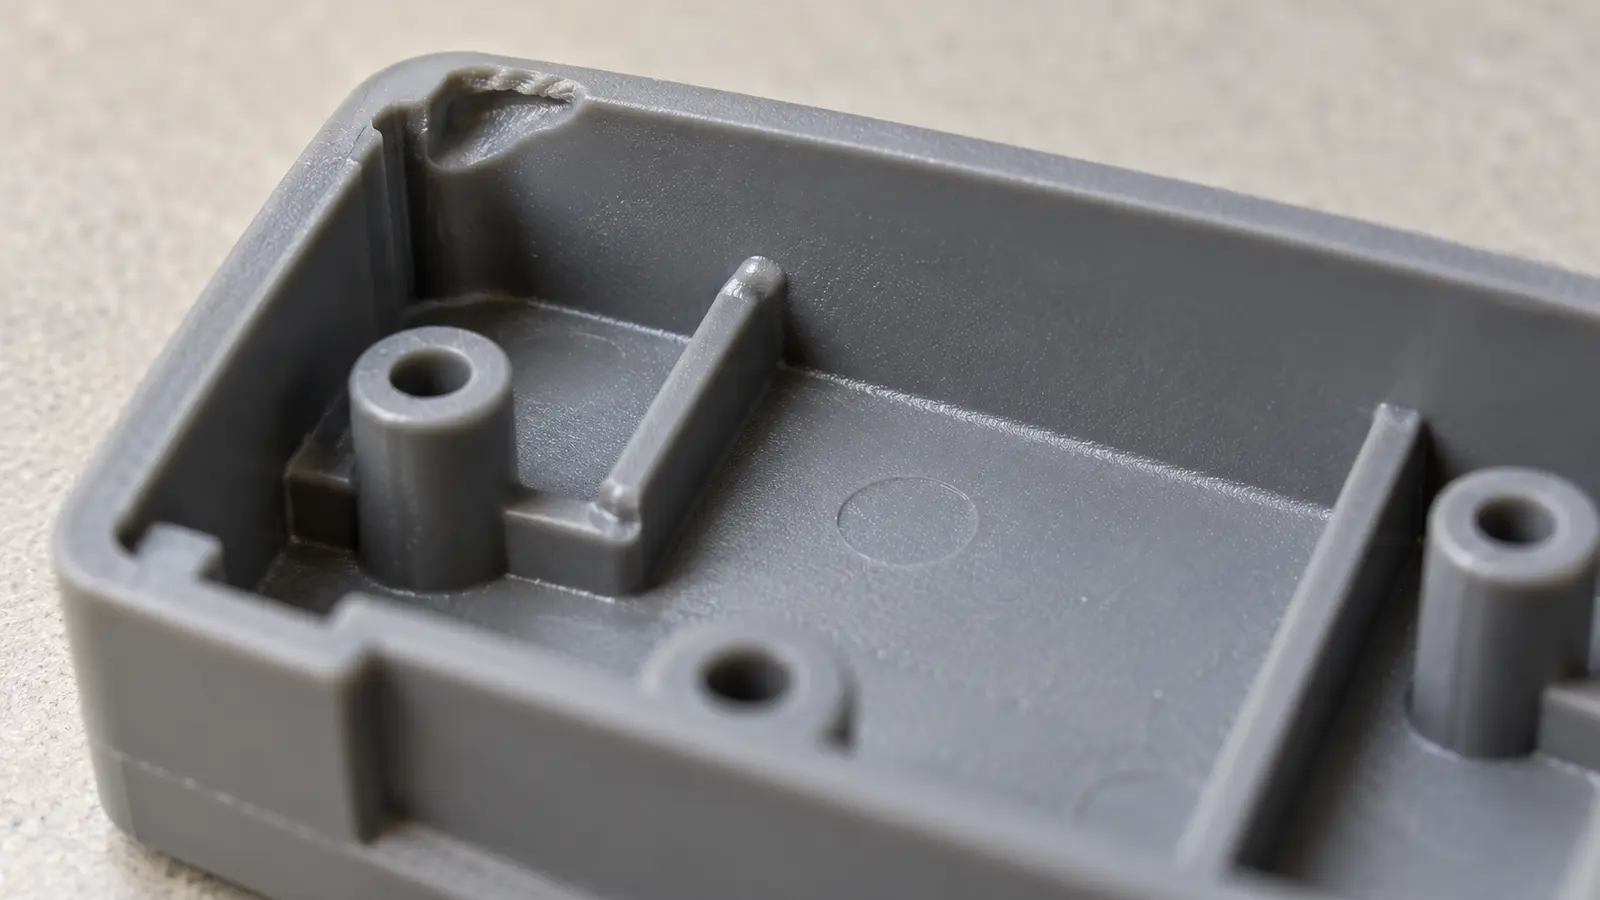
Before changing machine settings, make sure the problem is really incomplete filling. A feature that broke during ejection or a blocked gate can leave a part that looks incomplete for a different reason. For a wider view of similar problems, see Meco’s guide to injection molding defects.
What can the defect pattern tell you before you change anything?
The location and repeatability of a short shot can tell you more than the defect name. If the same area is short every cycle, look at what is different about that flow path. If the missing area moves around, look harder at process stability and material delivery.
| Observed pattern | What to check first |
|---|---|
| Same feature is short every cycle | Flow path, local wall thickness, gate size or position, trapped air, or a restriction in one runner branch |
| Short shot is at the far end of fill | Available pressure, melt temperature, injection speed, venting and total flow length |
| Only one cavity is affected | Runner balance, gate restriction, venting and local tool condition |
| Problem started after mold cleaning or maintenance | Vent condition, gate condition, assembly and setup changes |
| Problem started after a resin or grade change | Material flow, the supplier’s process range and actual melt condition |
| Defect changes from shot to shot | Shot delivery, cushion, material feeding and temperature stability |
This is why we do not start with a random pressure increase. A higher setting may fill one part, but it does not tell you whether the real cause was a cold flow path, trapped air, a small gate or a shot-delivery problem.
Which process conditions can cause a short shot?
A process-related short shot happens when the machine cannot move enough usable melt into the cavity before the plastic cools. The problem can start with shot preparation, during filling, or when the machine reaches a limit too early.
1. Not enough melt is available for the shot
The machine needs a small amount of melt left at the end of injection so it can keep control of the shot. If the screw reaches the end with almost nothing left, the machine may not have enough usable plastic to finish the fill.
Check shot size and cushion first. “Cushion” is the small amount of melt left in front of the screw after filling. If there is no cushion, changing mold temperature will not fix the basic volume problem.
2. Injection speed is too low for the flow path
A slow fill gives the plastic more time to cool while it moves through the mold. The flow front can become thicker and stop before it reaches a thin rib or a far corner.
Faster is not always better. The question is whether the plastic is cooling too soon. Any speed change still has to stay inside the safe range for the resin and the mold.
3. The machine reaches its pressure limit too early
Watch what the machine is doing, not only the number on the screen. If the machine reaches its pressure limit before the cavity is full, the plastic is meeting too much resistance somewhere in the flow path.
More pressure may help, but it may not be the real fix. A small gate, a cold runner, a long thin wall or trapped air can all create high resistance.
Can melt temperature or mold temperature cause a short shot?
Yes. Plastic that is too cold can lose its ability to flow before the cavity is full. This matters most in thin walls and long flow paths.
Do not raise temperature by habit. First check that the real melt and mold temperatures are stable and fit the resin. A heater problem, a cold nozzle area or poor mold-temperature balance can make one part of the flow path harder to fill.
If you changed resin grade, check the supplier’s process range again. Different grades of the same plastic can flow differently. Meco’s injection molding materials page also explains how wall thickness, drying and resin choice affect molding behavior.
When are the gate, runner or vents the real problem?
Tooling becomes a stronger suspect when the same area fails again and again. The plastic may be losing too much pressure in the runner or gate, or trapped air may be stopping the last part of the fill.
Gate or runner restriction
A gate or runner that is too small can slow the flow and cause early freeze-off. A gate can also become partly blocked or damaged after the tool has been running for some time.
If the short shot started suddenly on an older tool, inspect the tool condition first. If the problem has been there since the first trial, the gate and runner design need a closer review.
Poor venting or trapped air
Plastic cannot fill a space if the air in front of it has nowhere to go. A short shot near the end of fill can be a venting problem, especially if the flow stops at the same place every cycle.
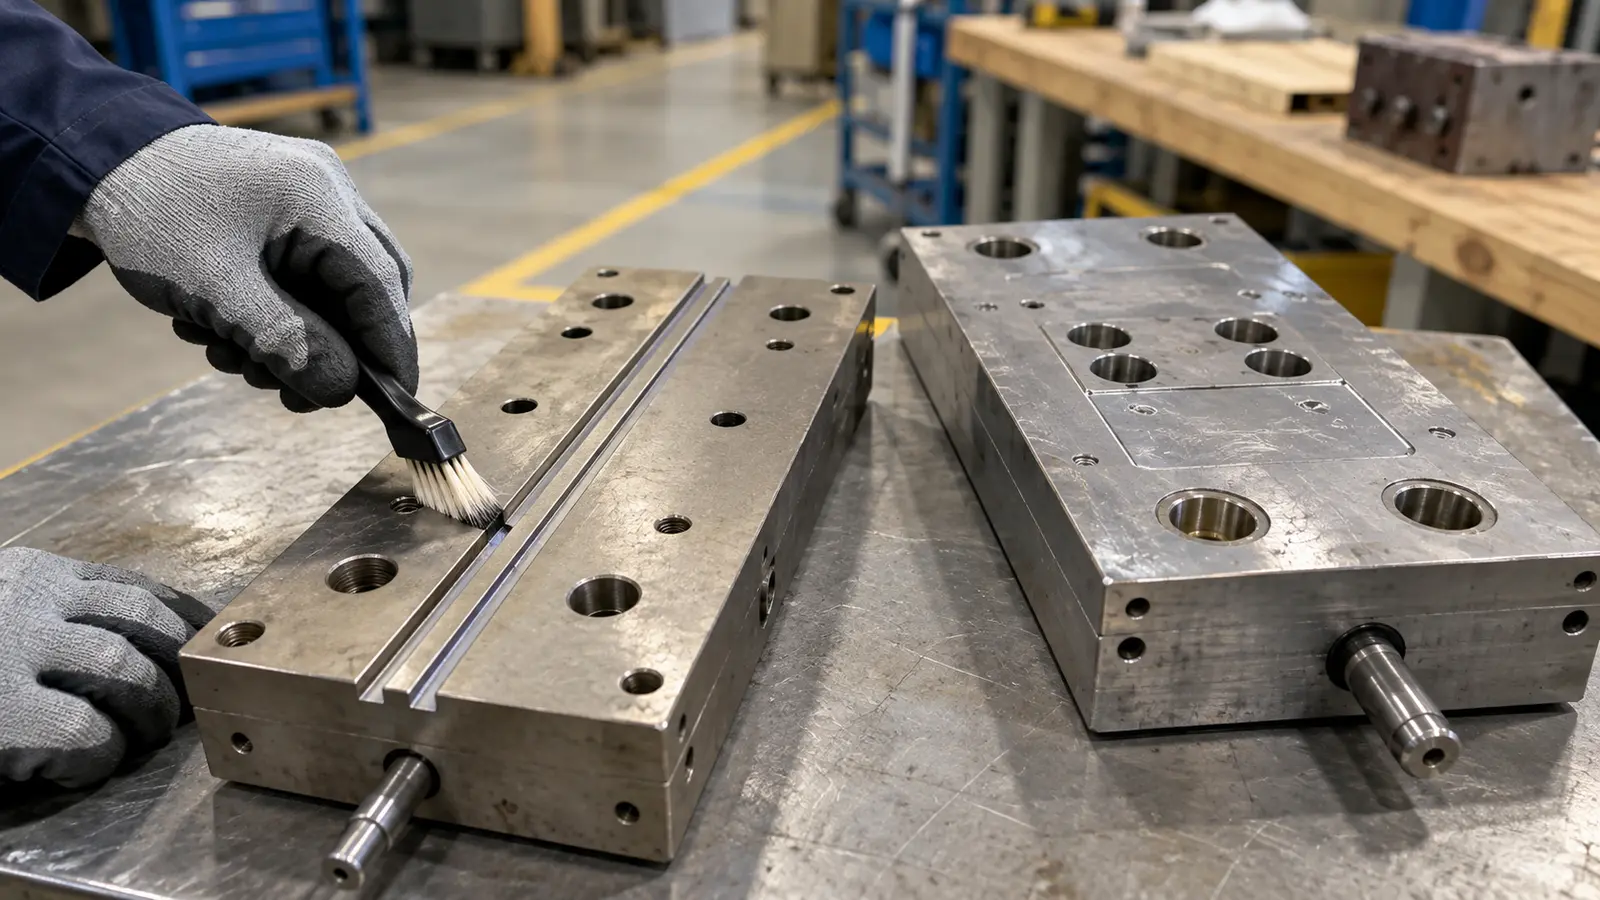
Check whether the vent is open and clean before changing its size. Cleaning a blocked vent is very different from cutting a new vent into the mold. Meco’s plastic injection molding services page shows the wider process and tooling support around molded parts.
How can part design create a short shot even when the machine is running normally?
Some parts are hard to fill because of their shape. A long flow path, a sudden thin wall, a thin rib or a gate that is far from a key feature can make the end of fill sensitive even when the machine is stable.
Three design conditions deserve special attention:
- Thin sections: A thin area loses heat fast and may freeze before the cavity is full.
- Long flow length: The farther the plastic travels, the more pressure and heat it loses.
- Poor gate relationship: The gate may be large enough, but still be in the wrong place for the part. The plastic then has to travel through a harder path to reach the last feature.
This is where DFM, or design for manufacturability, matters. If a mold needs extreme settings just to fill a normal part, production may stay unstable.
A design or tooling change can be safer than forcing the machine to work at its limit. Meco’s custom injection molding page explains how part design, tooling and molding are reviewed together.
Need help with incomplete filling? Share the drawing, resin and defect photos so an engineer can advise on the next step.
Talk to an EngineerWhat is a practical troubleshooting sequence for a short shot?
Start with what you can see, then move toward the machine, material and tool. Change as little as possible while you look for the real limit in the system.
- Confirm the defect: Make sure the missing feature comes from incomplete filling, not breakage or damage after molding.
- Mark the location: Record where the flow stops. Check whether it happens in the same place, the same cavity and at the same point in the run.
- Check shot delivery: Review shot size, cushion and whether the machine reaches a limit before the cavity is full.
- Review recent changes: Ask whether the resin, mold cleaning, maintenance, setup or machine changed before the defect started.
- Check flow conditions: Compare injection behavior, melt condition and mold temperature with the approved process or resin guidance.
- Inspect the flow path: Look for restrictions at the nozzle, sprue, runner and gate. Check the vents near the end of fill.
- Move to design review if needed: If the part only fills when the process is close to a limit, review gate layout, wall thickness, flow length and cavity balance.
Common mistake
Changing pressure, speed and temperature at the same time may make the next part look better, but it also removes useful evidence. Change one controlled variable at a time when the process allows it, and record what the part does.
When should you stop adjusting settings and look at the tooling?
Stop treating the problem as a settings issue when the same geometry fails again and again, or when one cavity behaves very differently from the others. Those patterns can point to a fixed restriction in the tool or part design.
A tooling review can include the gate size and location, runner balance, vent location, vent condition and the steel around thin features. For a new mold, it is better to review these points before a high-pressure or high-temperature setup becomes the normal workaround.
For an older mold, compare the current tool with the last stable run. Wear, dirt, blocked vents, repaired inserts or gate damage can change the fill pattern even when no one meant to change the process.
How does Meco approach short-shot risk before production?
Meco does more than adjust molding settings after a defect appears. A project review can include part shape, tooling, material choice, molding and quality planning in one scope.
That matters because some short-shot risks start before the first production cycle. A thin feature, long flow path or difficult gate position is easier to discuss while the design and tool can still be changed.
For a wider view of the processes Meco can combine around a project, see our manufacturing capabilities. For more technical guides on molding, materials and other processes, browse the Meco manufacturing blog.
Discuss your injection molding project
If a molded part is coming up short, start with evidence. Share the part drawing, resin, defect location, cavity number, photos and any recent process change. That gives an engineer something useful to review.
- Part and tooling review
- Material and process context
- Injection molding and secondary operations
- Quality planning and inspection support
References
- BASF Performance Materials. Injection-Molding Problems in Engineering Thermoplastics: Causes and Solutions. Short Shot section and troubleshooting guidance.
- Meco. Injection Molding Defects: Common Problems, Causes and Solutions. Pillar page.
Images are AI-generated illustrations of generic manufacturing scenes, not photographs of Meco facilities, staff or customer parts.
